Shape Fire Engine
We can’t learn about fire without learning about those who put them out…and their mode of transportation, of course! This is a great way to practice shape recognition, scissor skills, and visual discrimination (placement of the “tires”, etc).
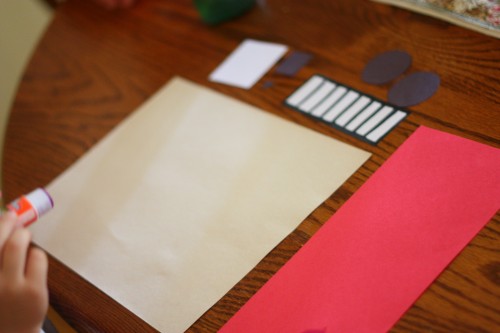
Here’s what you’ll need: construction paper, a marker, a glue stick and scissors.
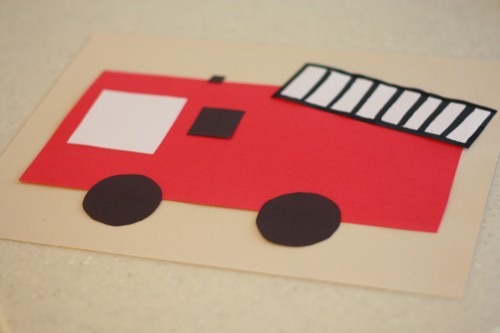
1. Trace and cut out your shapes. I arranged them just to make sure I had everything. We used 1 large red rectangle, 2 black circles, 1 white square, 1 white rectangle (with a ladder drawn on it), and two smaller squares. Had I been thinking, I would have had Big Brother cut them out (he obviously needs the practice), but I apparently wasn’t.
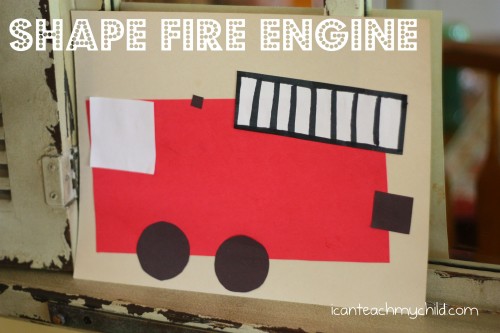
2. Lay the shapes out on the table. I purposely did not lay them out like the above picture because I wanted Big Brother to be the one to choose the placement of each shape.
3. Give your child the glue stick and let him/her get busy!
He did a great job coming up with his own placement for the shapes, though I did encourage him to put the white square as a window instead of off the firetruck as he had originally wanted.


That is such a cute idea with the shapes for the fire truck. He did a good job.
Thanks for posting this idea, it will be great for my little boy as he’s learning about fire safety at school. I love that your ideas can be done with stuff I already have around my house and that even a completely un-crafty person like me can pull them off! :)
We made fire trucks today! I love how cute they are:)
Loving your blog. Will be using a couple of your craft ideas for craft roundup posts!