Lighted Shadowbox Nativity

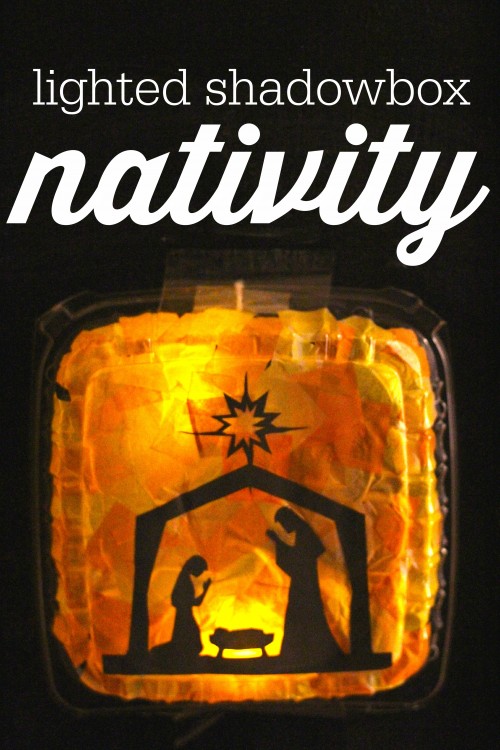
My favorite Christmas decorations are Nativity sets. We have a few Santa and Snowmen decorations here and there, but we have several Nativities. I just love the simplicity of Mary, Joseph, and the baby Jesus in the manger. And I love how a nativity reflects the true meaning of Christmas!
For this craft, I was inspired by the Stained Glass Nativity from Meaningful Mama. Little Brother and I decided to make our own shadowbox version using the top of a clear plastic to-go container. I didn’t want to run to the store, so we decided to use what we had. In hindsight, I wish I would have just purchased a shadowbox because I would love to keep this to display year after year! We might end up just having to make another one!
Here’s what you’ll need: a shadowbox deep enough to hold a tealight (we just used the top of a clear to-go container), battery-operated tealights, orange and yellow tissue paper, scissors, a glue stick, a simple Nativity silhouette, and an Xacto knife.
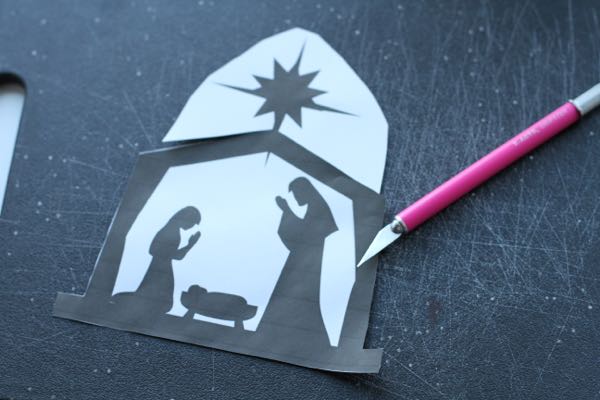
1. Print off the nativity scene and then use an Xacto knife to cut out the silhouette. CAUTION: This step is for adults only. DO NOT let your child use the Xacto knife.
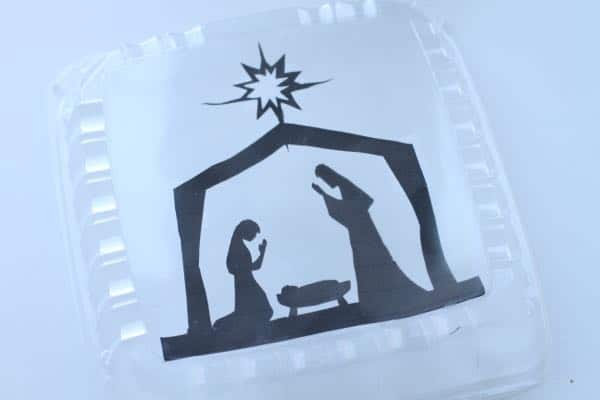
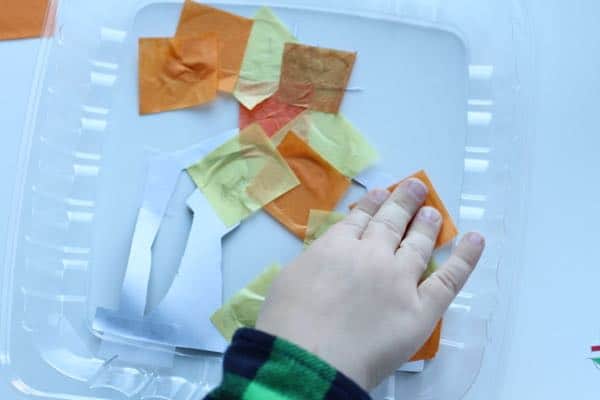
2. Lay the nativity onto your shadowbox and tape in a couple spots to keep it from sliding. As you can see, we used the top of a clear carry out container to make our shadowbox.
As you can see, we used the top of a clear carry out container to make our shadowbox.
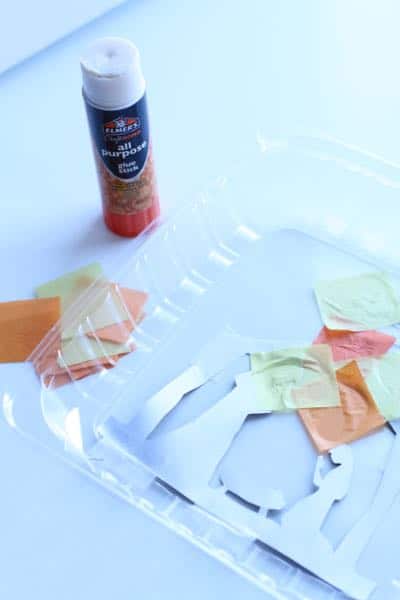
3. Use a glue stick to add glue to the pieces of tissue paper. Glue on top of the nativity.
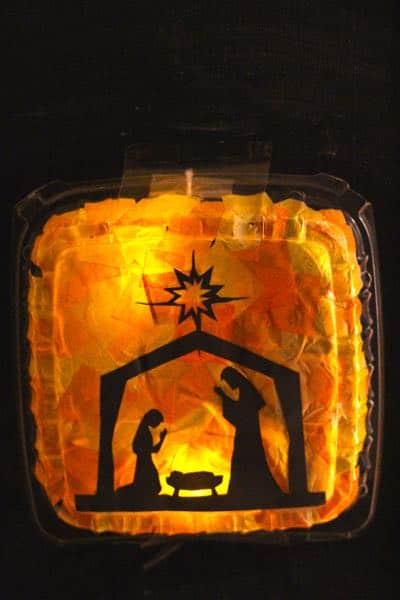
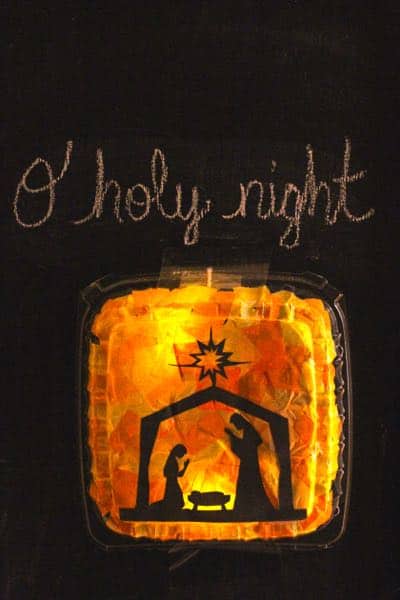
4. Use a battery-powered tealight behind the shadowbox to illuminate.
Ta-da!
Be sure to check out more Christmas crafts here and on our Christmas Pinterest Board.


