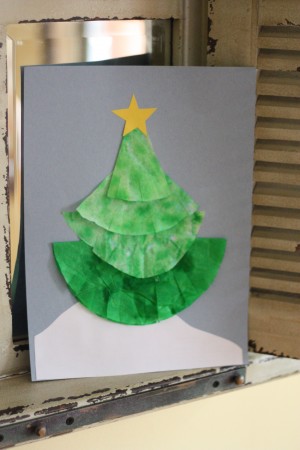
Coffee Filter Christmas Tree
I love the simplicity of this craft. I’m also a huge fan of using coffee filters for kid’s crafts (remember this, this and this?)!
Here’s what you’ll need: 2 coffee filters, green markers (we used regular and Do-A-Dot Markers), a spray bottle with water, scissors, a glue stick, and construction paper.
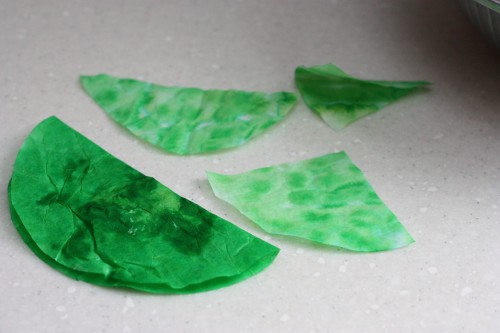
1. Let your child start coloring with the green markers on both coffee filters.
2. Use the spray bottle to spray the coffee filter ever so slightly. If you get it too wet, the color will run out of the filter and onto the plate. You also might notice that this coffee filter is orange…that’s because I forgot to take a picture of this step, so I borrowed this picture from our Stained Glass Pumpkin post!
Let the coffee filter dry completely while on the plate.
3. Fold one of the coffee filters in half and then cut the other one in thirds. Fold one of the thirds to make the top piece.
4. Glue the tops of each coffee filter piece onto a piece of blue construction paper (I cut out a piece of white to make snow at the bottom).
5. Make small slits in each coffee filter layer.
Add a star at the top, if you wish, and it’s ready to be displayed!
Literature Link
Why Christmas Trees Aren’t Perfect by Richard H. Schneider is one of my favorite Christmas books of all time! It tells about a perfect little pine tree who gives up its chances at being chosen as the Queen’s Royal Christmas Tree to protect birds and animals. It has quite a bit of text, but Big Brother enjoyed reading it regardless of its length. My favorite line from the book is at the end:
“…The trees have learned that living for the sake of others makes us most beautiful in the eyes of God.”


Such a cute idea, I love making things with coffee filters, and using the spray bottle is a great idea. Thanks for sharing!
We did this craft up at the cabin this past weekend using smelly markers. Thanks for the great idea!
So glad you enjoyed it! Thanks for leaving a comment! :)