Coloring on Hot Rocks
Big Brother acquired quite the collection of rocks during our recent vacation to the mountains. We had plenty of rocks to choose from, so we used a few of them to make some hot rock art!
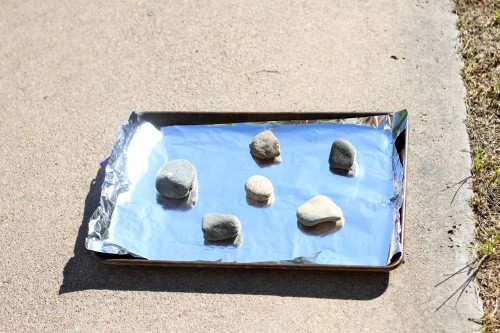
Here’s what you’ll need: a hot sun (or an oven), smooth stones, and crayons (old, broken ones work great).
Here is Big Brother searching for the “perfect” rocks for his collection!
1. Set your rocks on a tray and put them in direct sunlight for several hours. If the crayon melts when you start to draw, that means they’re ready. If not, you might try putting the rocks in your oven on the lowest possible setting (150-180 degrees at the MOST) for just a few minutes.
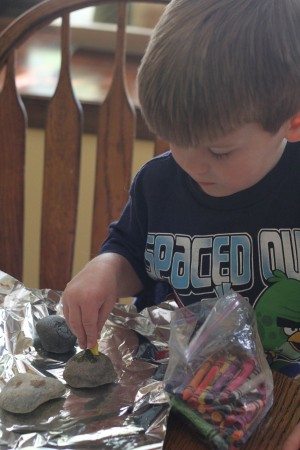
2. Once the rocks are hot enough, give them to your child with strict instructions NOT to touch the rock…only touch the crayon to the rock.
Let them color to their heart’s content! After a few minutes the rocks will cool down enough to where the crayons won’t melt, so they’ll have to be rather snappy in their coloring.
The color shows up MUCH better if you use light-colored rocks.
Ta-Da! Beautified rocks!
Disclaimer: Please use EXTREME CAUTION when attempting this activity at home. If your child is not old enough to follow the directions not to touch the rocks, he/she should not participate in this activity. This activity, like all shared on this blog, should be supervised at ALL times.


My 4 year old also came back from vacation with quite the collection of rocks. We colored some with markers on the car ride home and he liked that, but I think he would really like this activity. Thanks for sharing!
What a fun idea!
Thanks for the idea! We just went through our crayons and didn’t have enough for melting and making our own. They will have lots of fun with this!
Love this idea! I could also see experiments of leaving pieces of broken crayon or crayon shavings on the rock while they are in the sun (or oven) and see what design it makes as it melts.